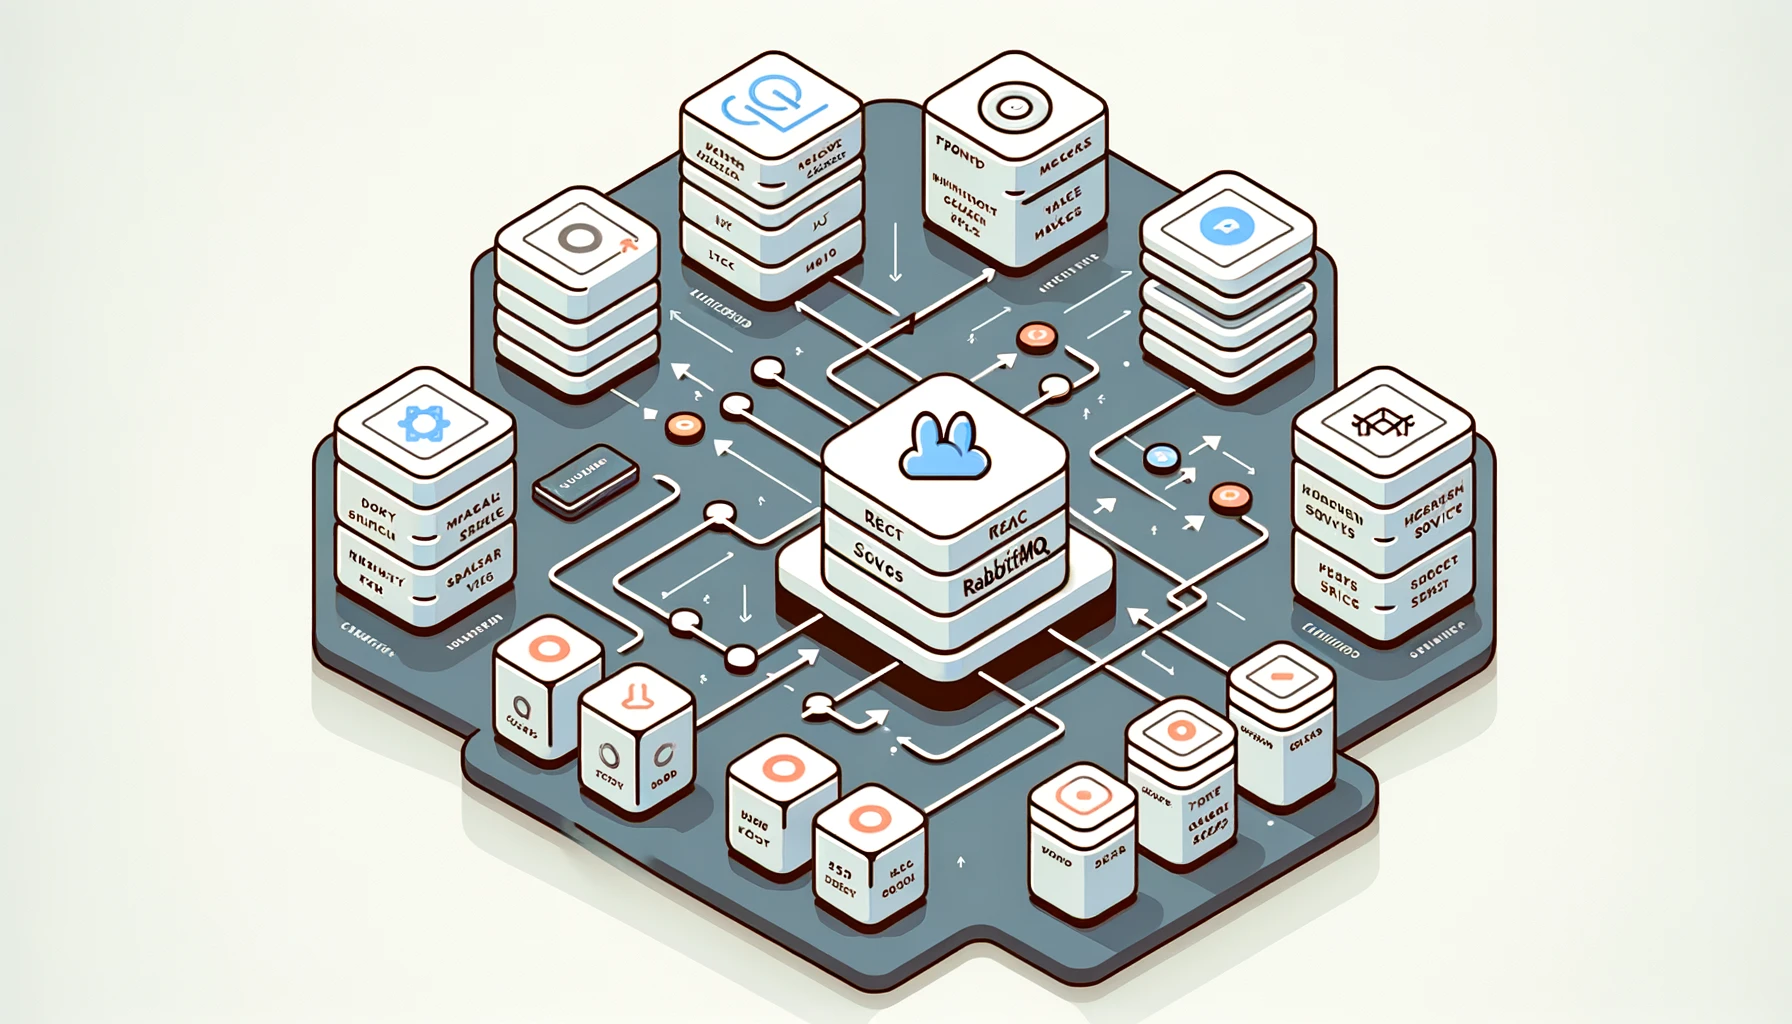
Laravel Microservices | Event Driven Architecture with RabbitMQ

What are Microservices?
Microservices in web applications is an architecture that let you break your application into small pieces, and these pieces can communicate with each other.
For example, imagine an online store. The user service handles user logins, the product service manages the product catalog, and the order service processes orders. These services run independently, so if one has an issue, the others continue to work. This makes the app more scalable and easier to maintain.
What is RabbitMQ?
RabbitMQ is a tool used to send messages between different parts of an application, you can consider it as a messenger, for example, imagine you and your friends planning to hold a ceremony and each of you needs to take care of some responsibilities, and you will create a WhatsApp group chat (Rabbit MQ) and all of you will join to that group (microservices), then one of you who is responsible for reserving the place of the ceremony will send a message into the group "Guyz, I reserved the place at location X", then the other friend who is responsible for buying a cake will see that message and will start looking for somewhere near to location X to buy the cake. also if the person that is responsible for buying the cake is busy or offline at the time that location message was sent to the group chat, later after he/she gets back online, then will see the message and will act on it (no need to act on messages immediately).
Another example is, Imagine you run an online store. When a customer places an order, the order service (which takes the order) sends a message to RabbitMQ saying, "A new order is placed!" The inventory service (which updates stock) and the shipping service (which handles deliveries) picked up this message from RabbitMQ and acted on it. This way, they don’t need to talk to each other directly, making the system more flexible and efficient.
Let's dive into our steps and the main part :)
In this tutorial, we will build microservices example with Laravel 11, React.js, RabbitMQ, and Docker
Let's create our first project with
since already we have Laravel installer I will use this command:
laravel new adminrefer to Laravel doc to find the best installer method for yourself
now add "Dockerfile" to the root directory of the project
Dockerfile:
FROM php:8.3

RUN apt-get update && apt-get install -y \
    libfreetype6-dev \
    libjpeg62-turbo-dev \
    libmcrypt-dev \
    libpng-dev \
    zlib1g-dev \
    libxml2-dev \
    libzip-dev \
    libonig-dev \
    graphviz \
    && docker-php-ext-configure gd \
    && docker-php-ext-install -j$(nproc) gd \
    && docker-php-ext-install pdo_mysql \
    && docker-php-ext-install mysqli \
    && docker-php-ext-install zip \
    && docker-php-ext-install sockets \
    && docker-php-source delete \
    && curl -sS https://getcomposer.org/installer | php -- \
    --install-dir=/usr/local/bin --filename=composer

WORKDIR /app
COPY . .
RUN composer install

CMD php artisan serve --host=0.0.0.0
EXPOSE 8000
Now add "docker-compose.yaml" to the root directory:
version: '3.8'
services:
  admin:
    build:
        context: .
        dockerfile: Dockerfile
    ports:
        - "8000:8000"
    depends_on:
      - admin_db
  admin_db:
    image: mysql:5.7.22
    environment:
        MYSQL_ROOT_PASSWORD: root
        MYSQL_PASSWORD: root
        MYSQL_DATABASE: admin
        MYSQL_USER: root
    ports:
        - "33060:3306"
    volumes:
      - ./storage/dbdata:/var/lib/mysql
We used 33060:3306 to avoid port conflicts. you can also use "3306:3306"
New regarding the changes so far we need to update the DB values inside of the .env file